Time to box all these feelings up... in a CNC milled box.
I spend all of this week in work-related travel, so with a compressed timeline, I optimized heavily for fabrication and materials.
My box would be as simple as possible -- to the point where the entire box can be made using a single part fabricated six times.
Unfortunately, I relied on butt joints, that are quite unreliable, but at least they were something that could be milled and assembled quickly.
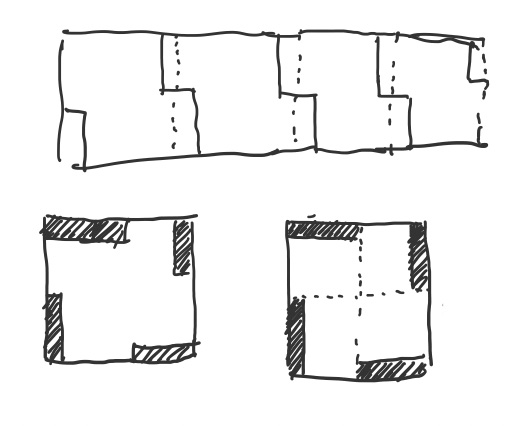
The initial sketches focused on a part that would fit multiple times
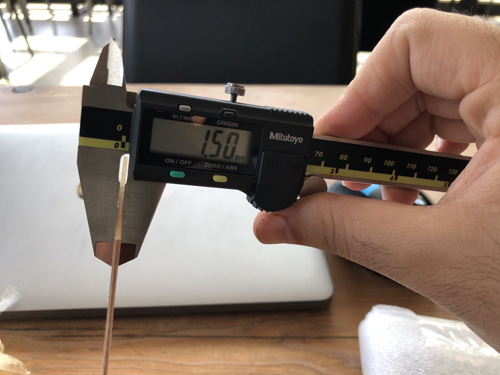
To plan for the edges I measured the FR1 to ensure the joints would work well together.
I then created the actual part -- starting with a 5 centimeter square, that I later changed to 4cm (to optimize for material) because each FR1 board was 7cm * 10cm -- this would allow me to do 2x parts per FR1 board.
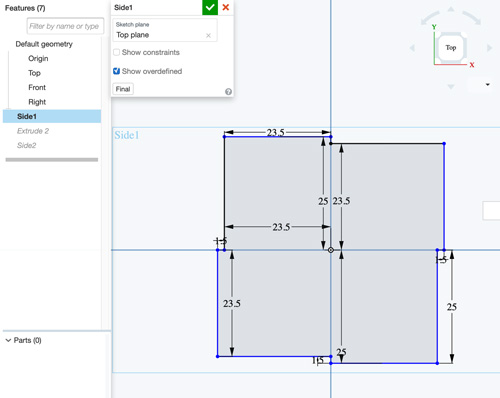
After extruding the part for the 1.5mm that the FR1 measured, I had the main part for the box.

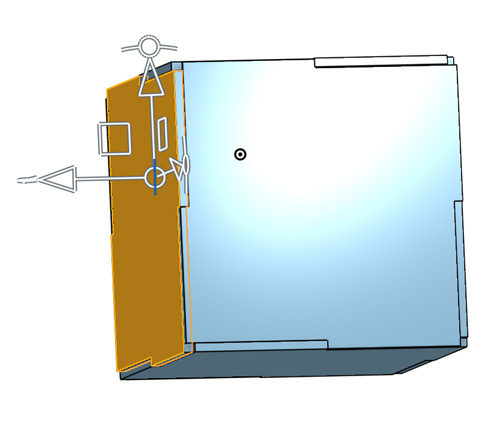
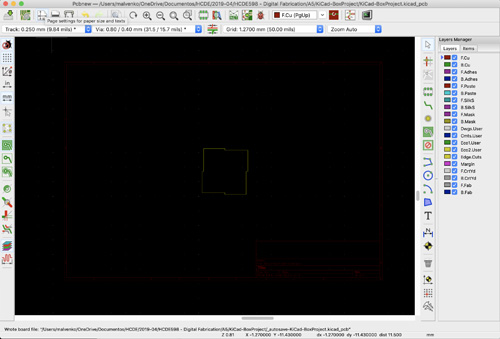
Before manufacturing, I verified that the part actually worked.

It did!
I exported the DXF into KiCad to create a Gerber file.
I imported the Gerber file into Bantam Tools, which looked right.
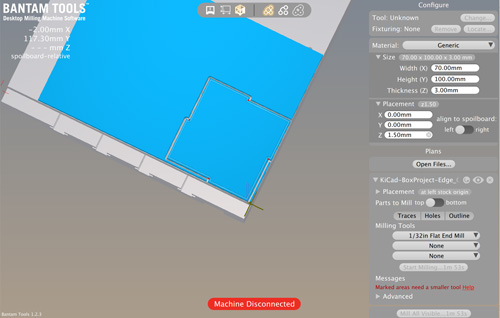
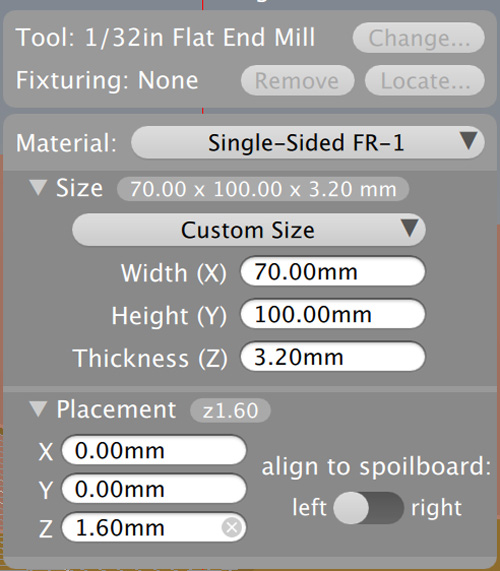
Once at the Mill, I followed the recommended instructions to prep the job -- e.g. creating the FR1 sandwich and using double-sided tape. I then entered the resulting measures in Bantam Tools.
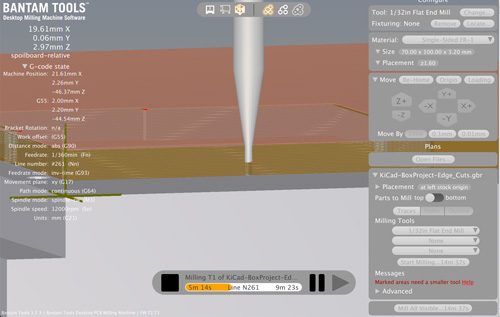
And off it went:
The outcome of the milling was pretty nice.

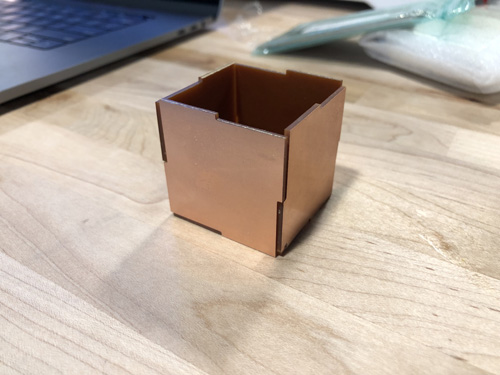
After some light assembly
Added more sides:
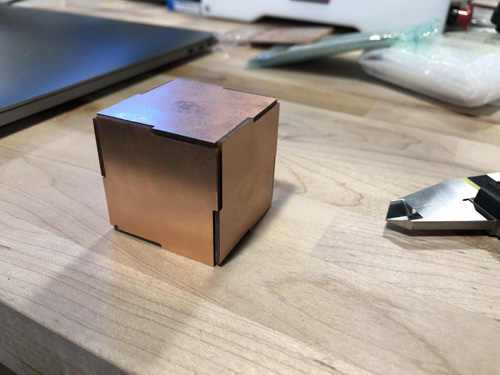
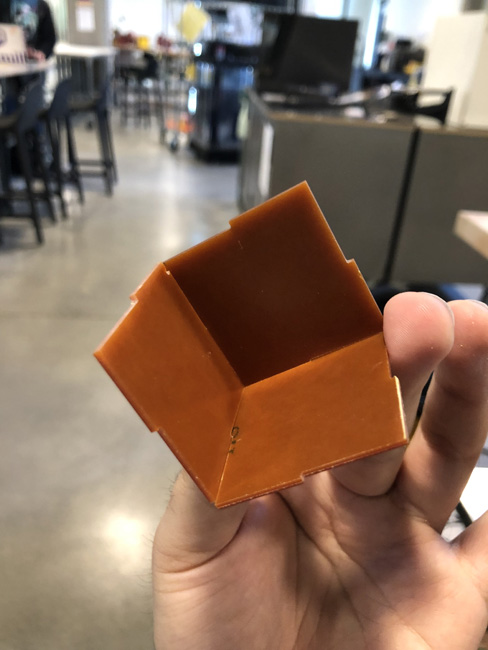
The final box resting fully assembled with all the sides holding up.
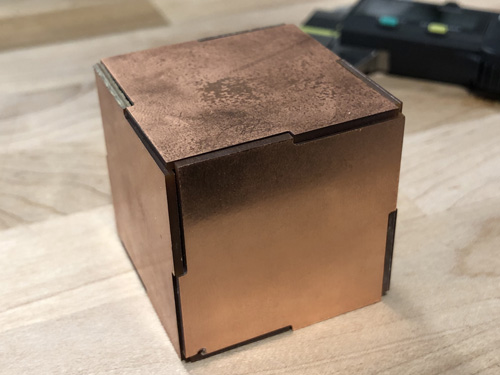
The box fit really well, but needed some careful touch to stay assembled.
The floor is lava lvl:CIA vault... or me assembling my box using crappy butt joints.
Note to self: BUTT JOINTS SUCK (for this assignment).
Credit where credit is due: Thanks to Gabi for the insights on how to operate the Othermill and the recommendation to use tape.
Source files for the box: