TL;DR: Milled something, created a mold of said something, casted copies of the something using the mold.
Lego pieces are amazing -- unfortunately, there are no individual triangular pieces with three connectors, so it might be interesting to come up with an interpretation of what said piece would be like, to then mill it out of wax, and create plaster copies of it.
I started working on potential ways to create a triangular piece, so spent quite a bit of time on exploring the sizing starting with a regular 2x2 piece.
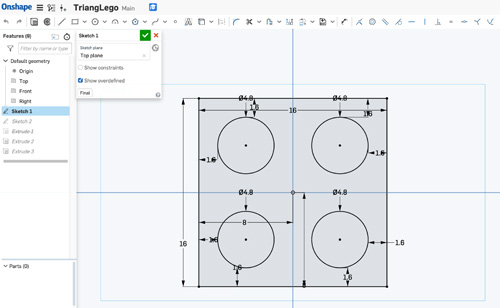
OnShape sketch for a 2x2 lego brick
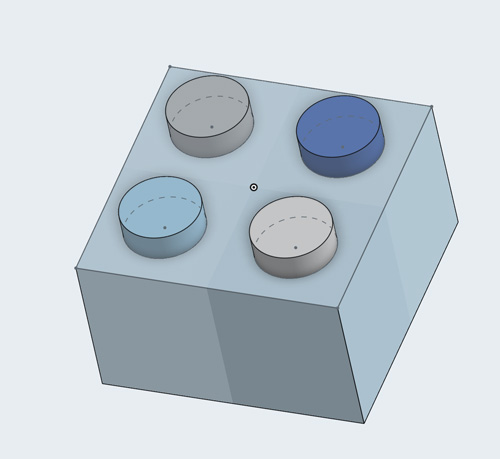
Extruded sketch for a 2x2 lego brick
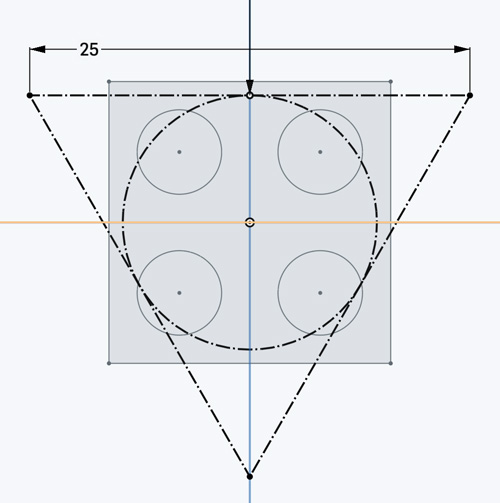
Trying to play with a triangle shape
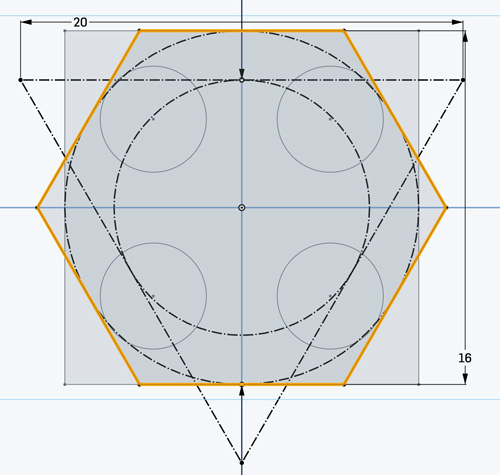
Maybe I need to chop the triangle with a hexagon to make it a truncated hexagon
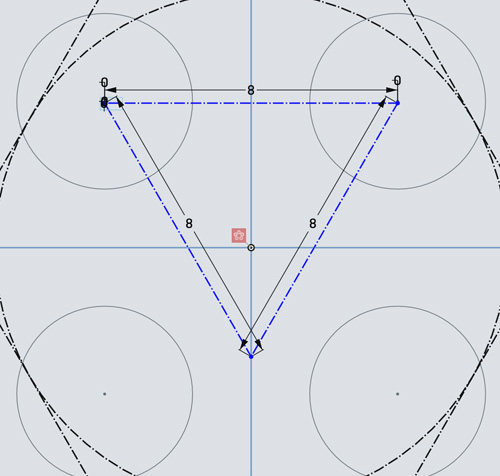
Experimenting with the connector placement
After struggling a bit with the possible ways to make this fit an actual lego set, I decided to explore the internet to see other approaches (I realized there would be zero ROI if I spent any longer working on my own implementation).
There was a great model that might probably not fit a Lego set, but aligned nicely to the ideas I was exploring and would be perfect for this assignment in SketchUp's 3D Warehouse
After stealing downloading the SketchUp file, I converted to STL, and imported into Fusion 360.
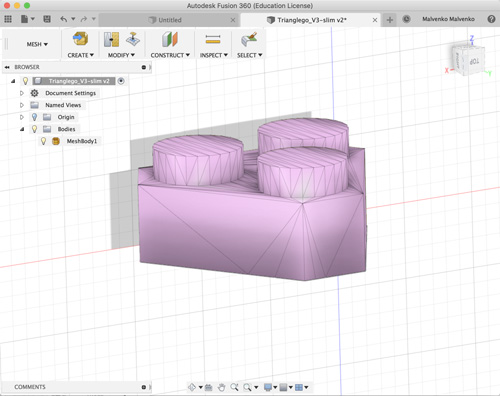
STL for the triangular lego imported into Fusion 360
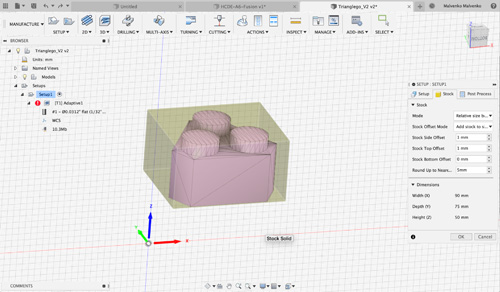
I started to play around with adding a stock directly in Fusion 360 that would represent the machinable wax
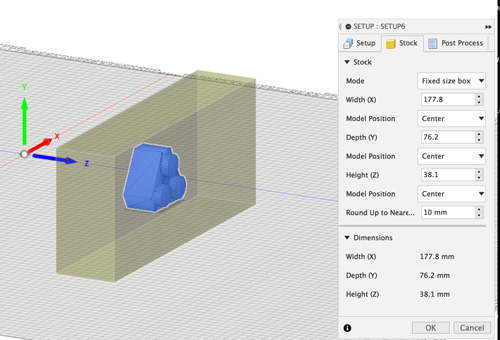
Model showing the lego inside to the machinable wax stock
I started simulating the process of milling the stock to get the part
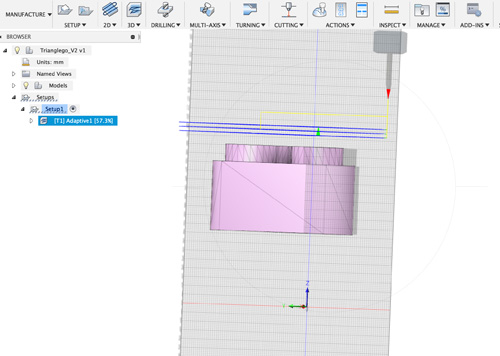
Model showing the lego inside to the machinable wax stock
With the toolpaths ready, I exported to GCode
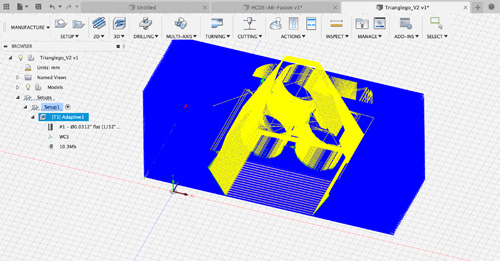
I then realized that the stock was unnecessarily huge, so I'd deal with it directly on Bantam Tools. I adjusted the stock to be slightly larger than the Lego object.
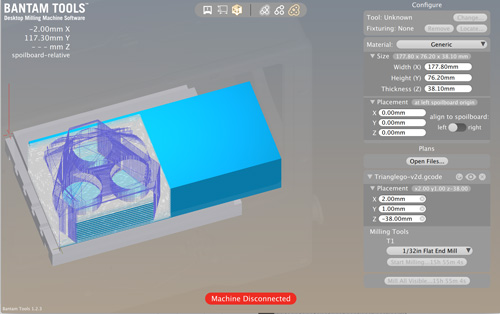
WAX TIME!
At this point several things happened:
- I had to get machinable wax at the CoMotiuon space at UW.
- The machinable wax we used for the class did not fit the Othermill
- Nadya set up office hours to use a larger milling machine (YASSS)
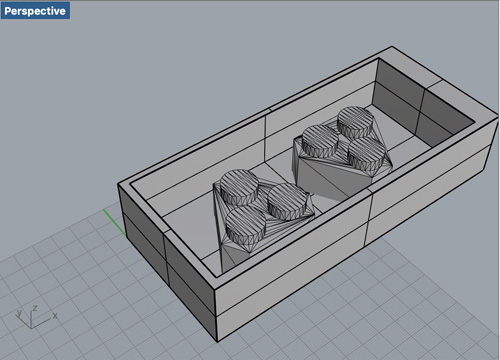
In the time it took to mill other students' projects, I had time to tweak the STL piece and place it inside a brick of wax to make it easier to create the mold (just pour the silicone mix, and done!).
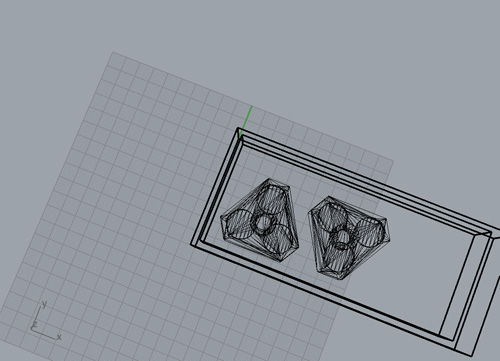
A different perspective
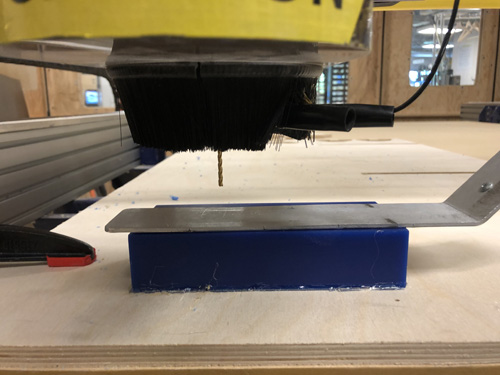
Setting up the mill after gluing the wax to the wooden base
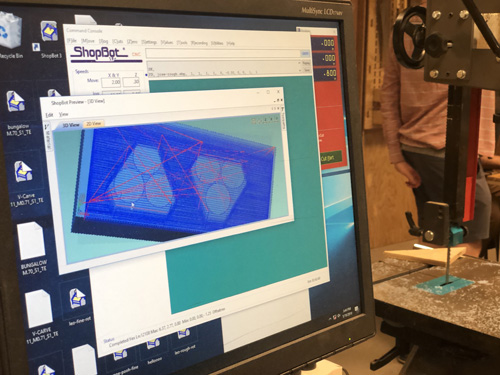
Checking the paths one last time before pressing go...
Milling underway!
Post-milling result
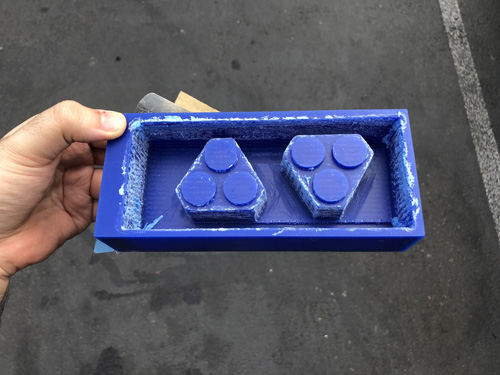
Prepping up the OMOO to create a mold out of the milled wax

Pouring the OMOO on the mold nice and slow
After the pour/p>
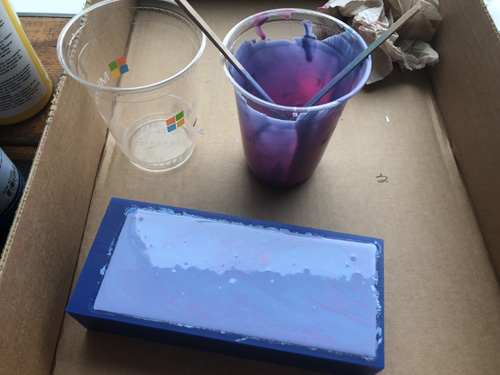
Six hours (and a bit) later...
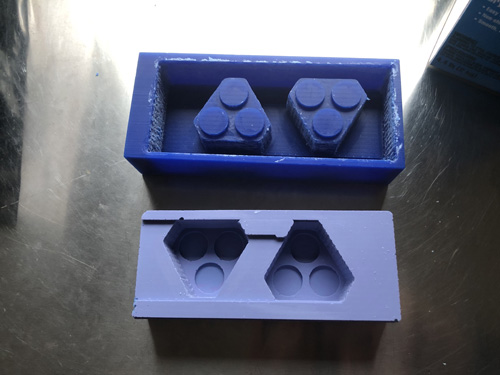
Later, I poured in some plaster of Paris into the mold
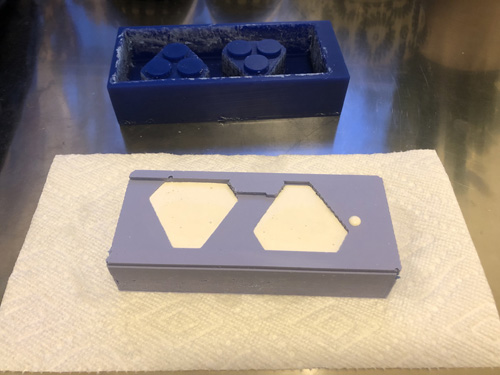
The first batch of pieces after being removed from the mold. They need to rest for 24 hours to cure properly.
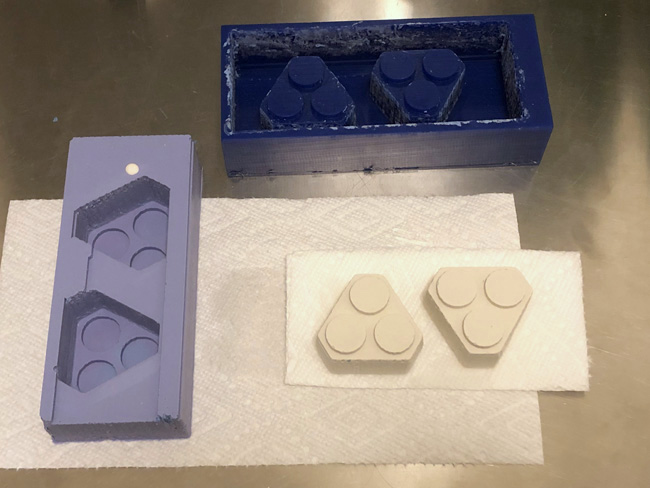
Four pieces curing for 24 hours!
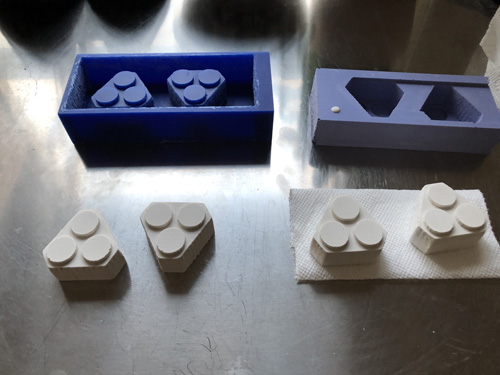
The final product!
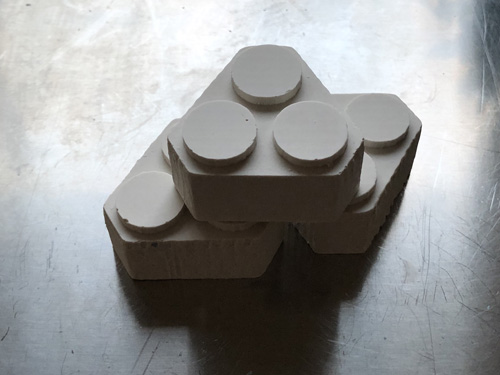
Learnings/takeaways
- Although milling is faster than 3D printing, it is quite consuming to deal with multiple file formats and programs.
- 3D tools (eg. Fusion 360) have a terrible usability -- even if large companies (*cough* AutoDesk *cough*) are behind them.
- 3D tools have incoherent features that WILL change units when importing/resizing or simply looking at it the wrong way.
- 3D tools seem to be so niche that large companies most likely have no incentive to make them better, which is unfortunate, because on the longer term, with the right usability and format compatibility they would develop a solid following that would be adopted by students first, then professionals, eventually becoming a de facto tool for building 3D experiences in a dystopian world where reality has been replaced with an interactive 3D simulation where humans compete for money, resources, and love.
- Plaster of Paris takes FOREVER to cure.
Source files for the mold and pieces:
- STL for the hexagonal/triangle Lego originally found on the SketchUp's 3D Warehouse
- Rhino model: Two parts placed inside a part with the same size as the machinable wax